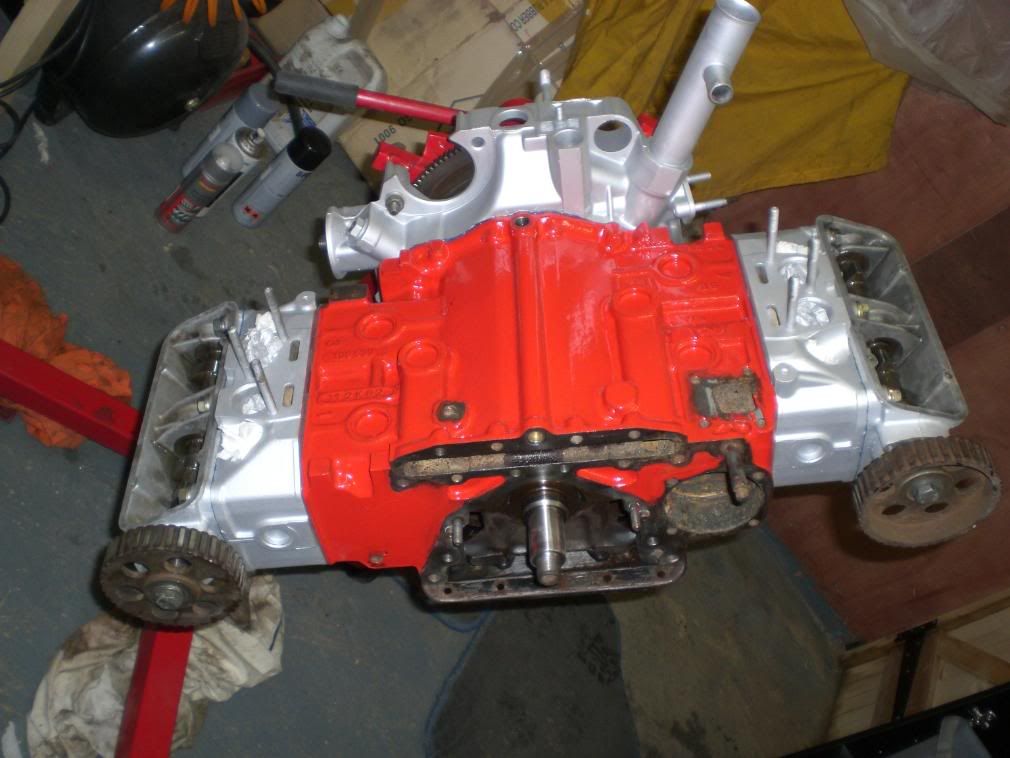
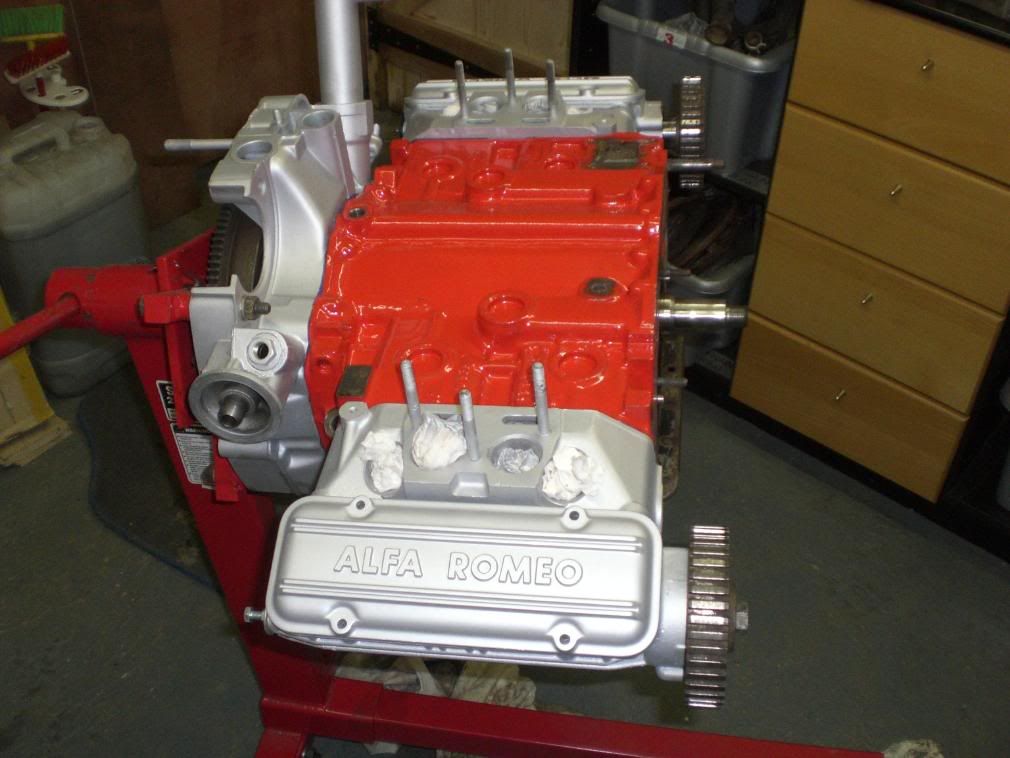
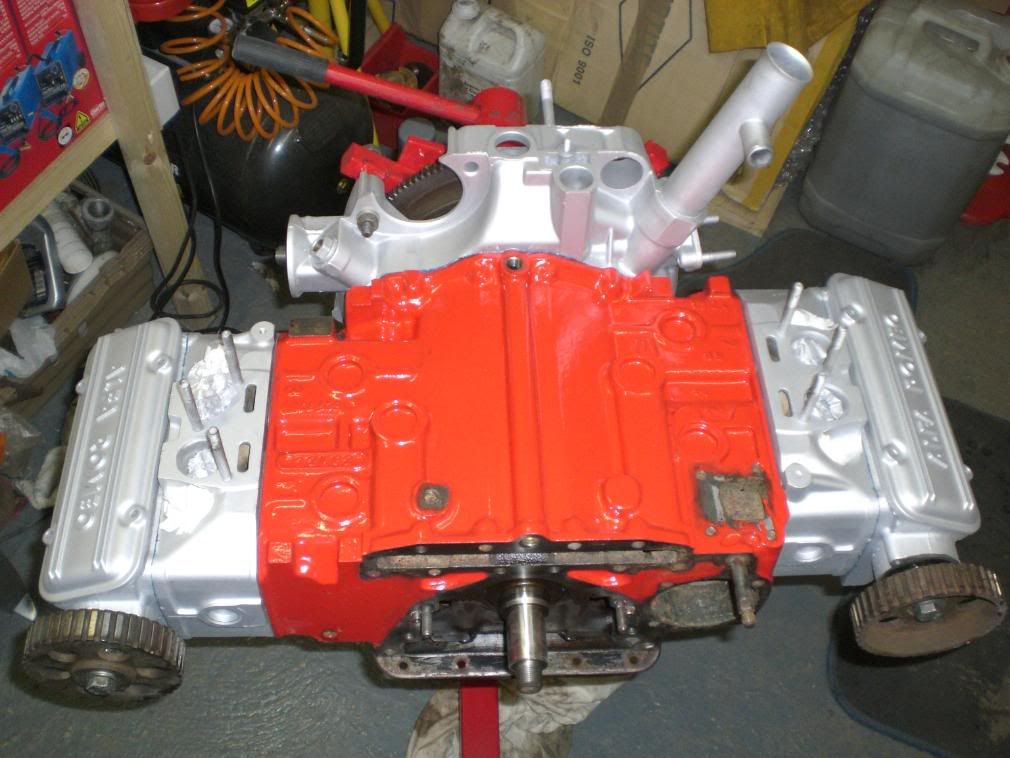
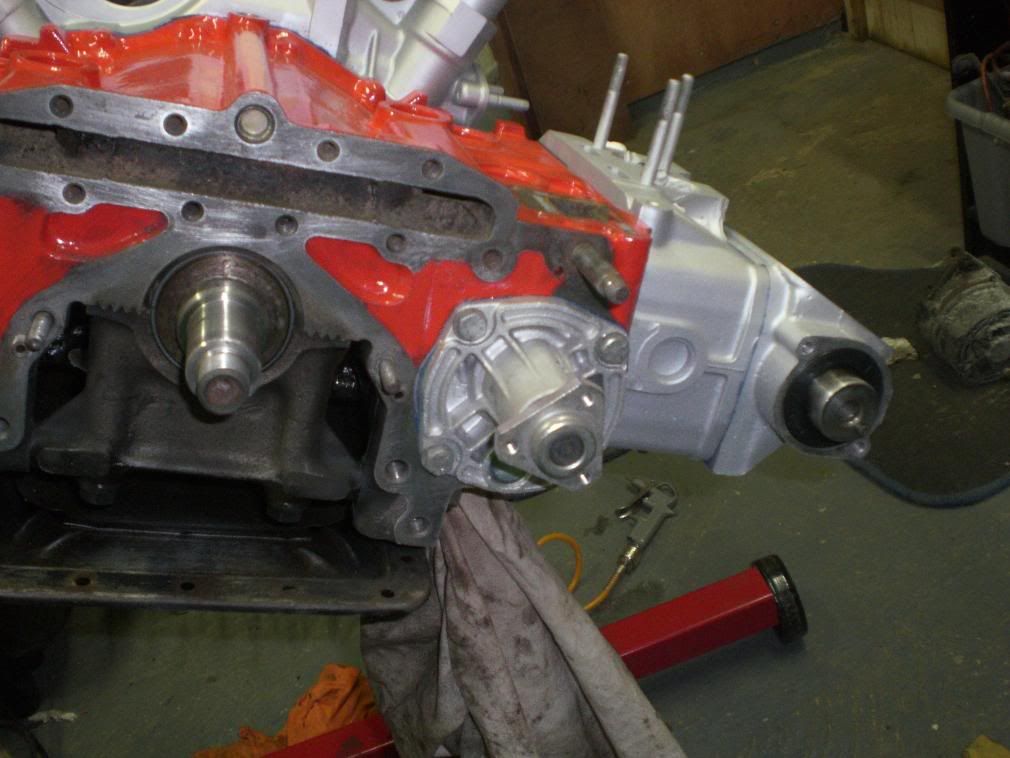
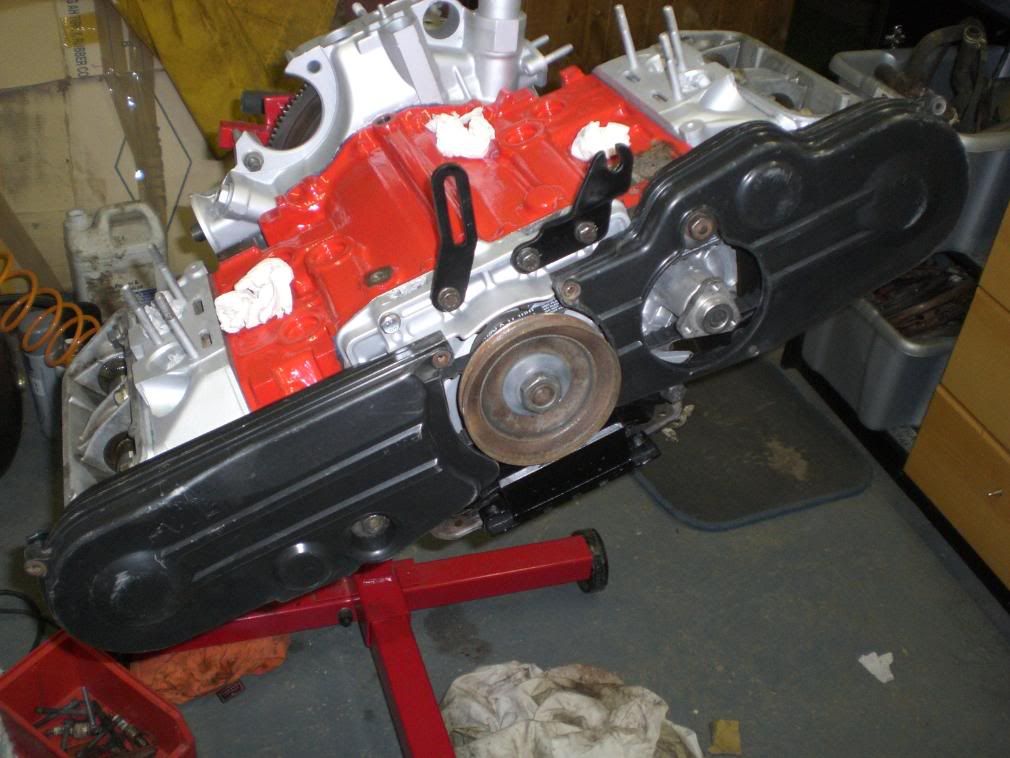
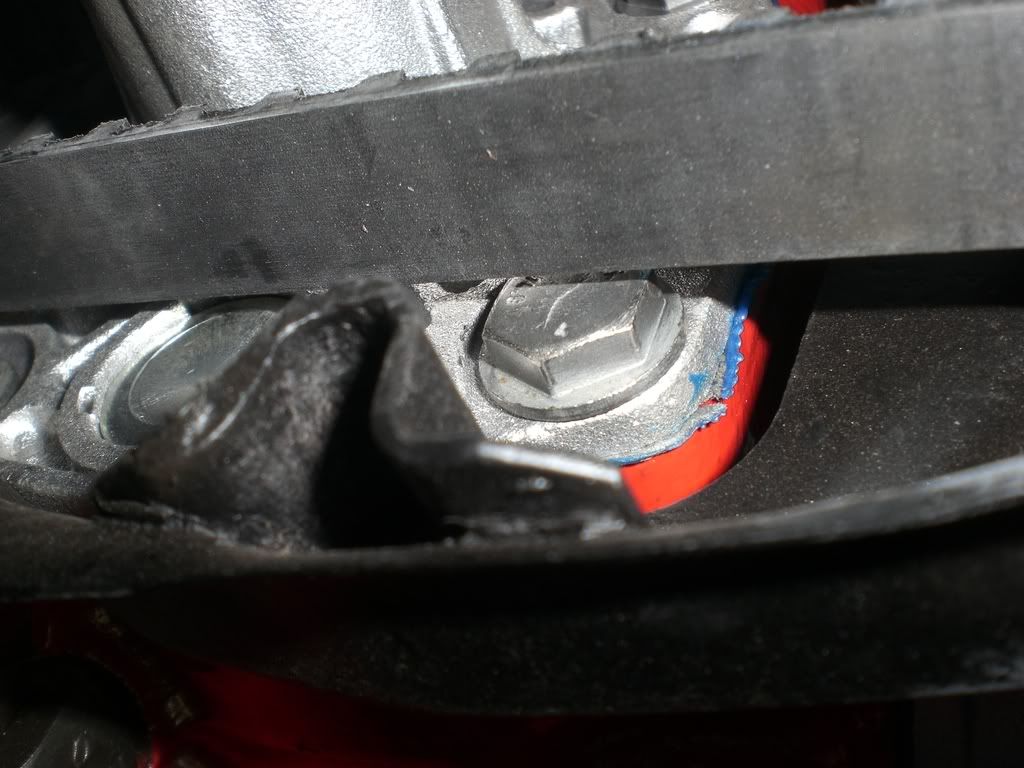
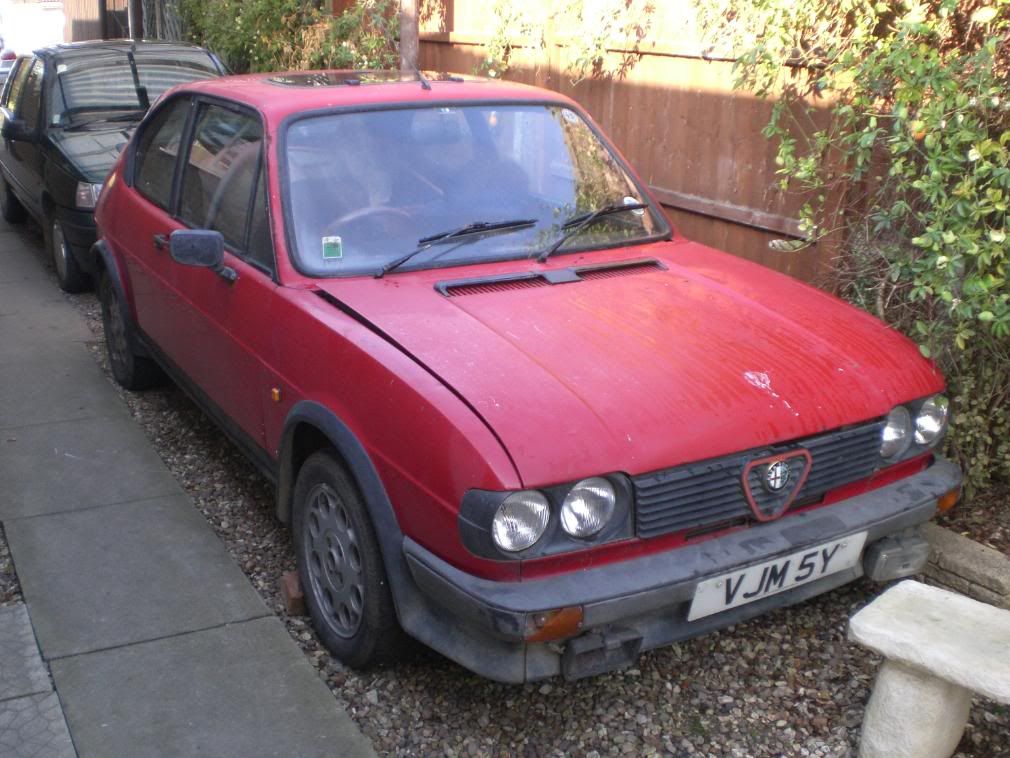
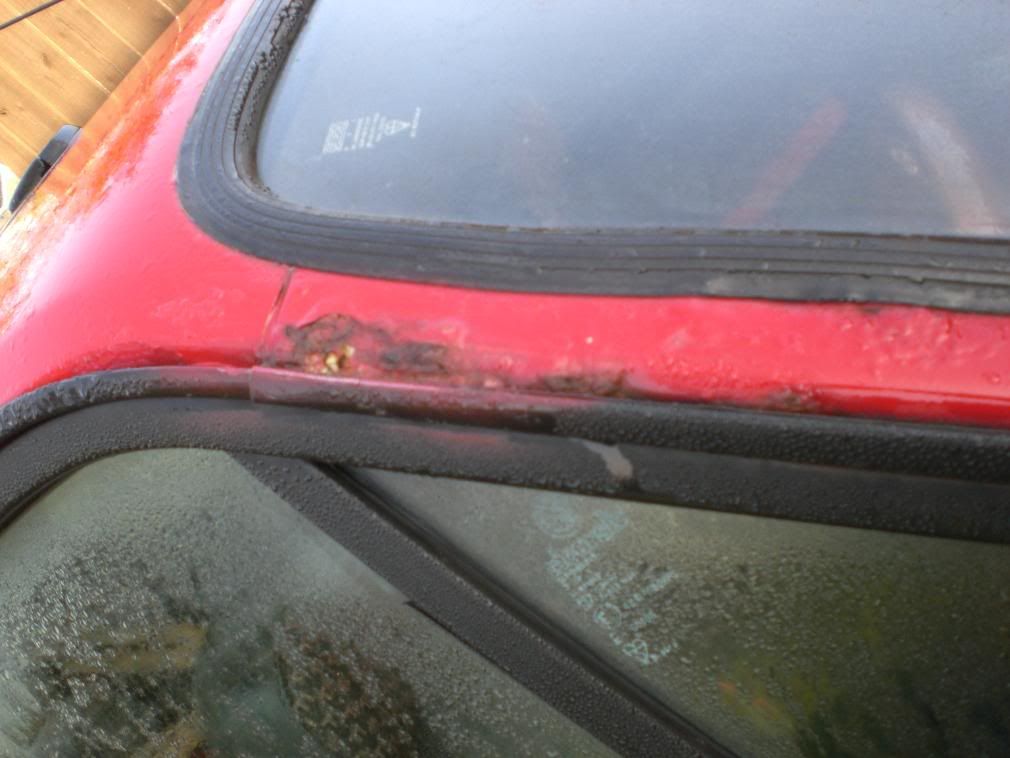
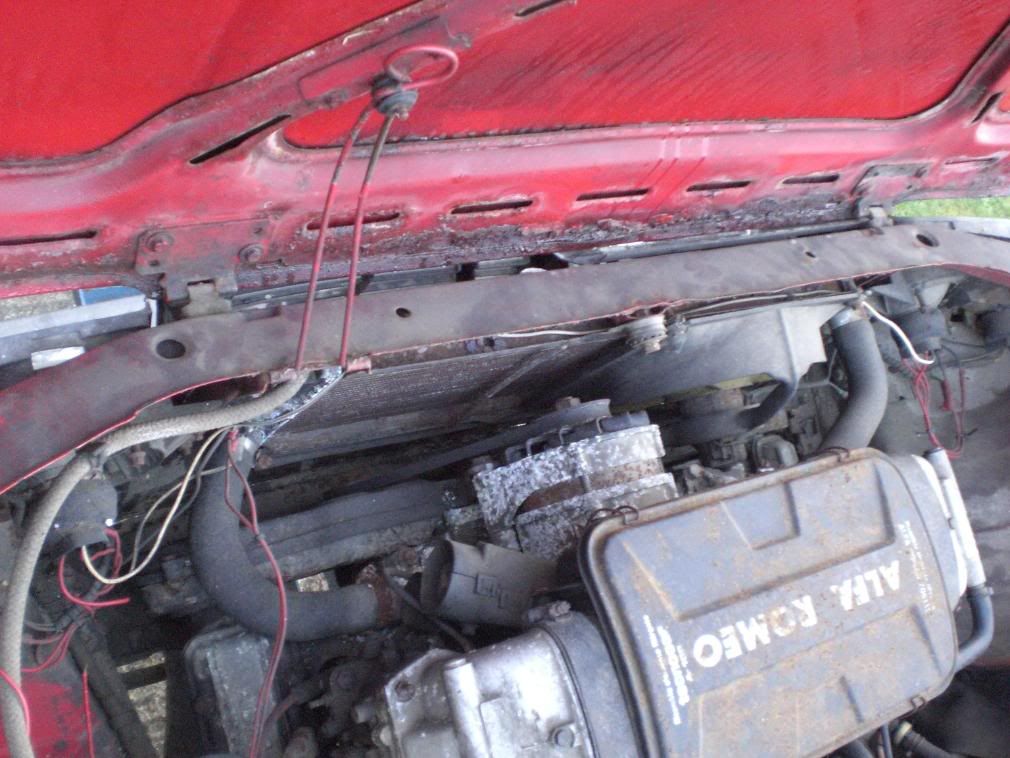
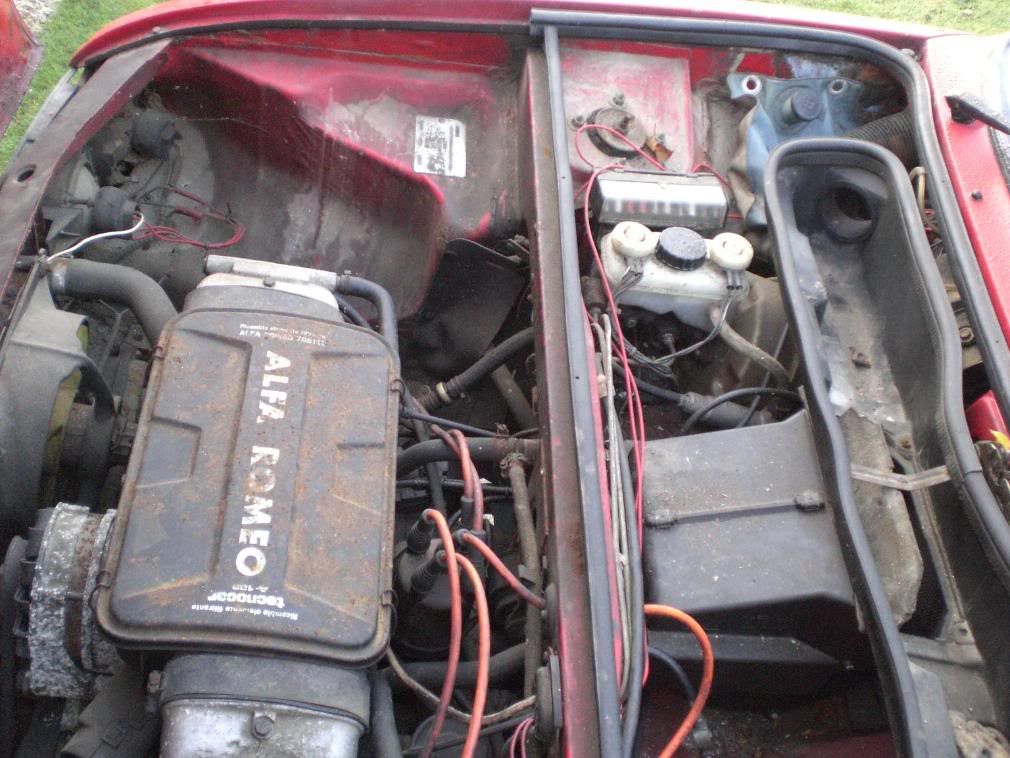
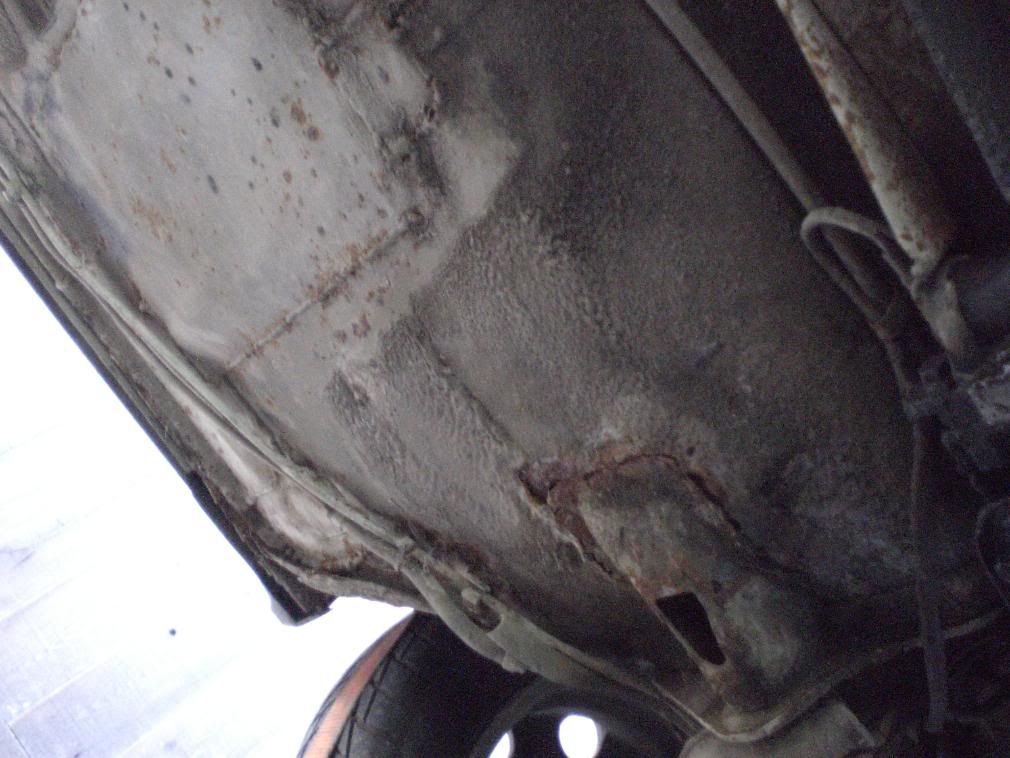
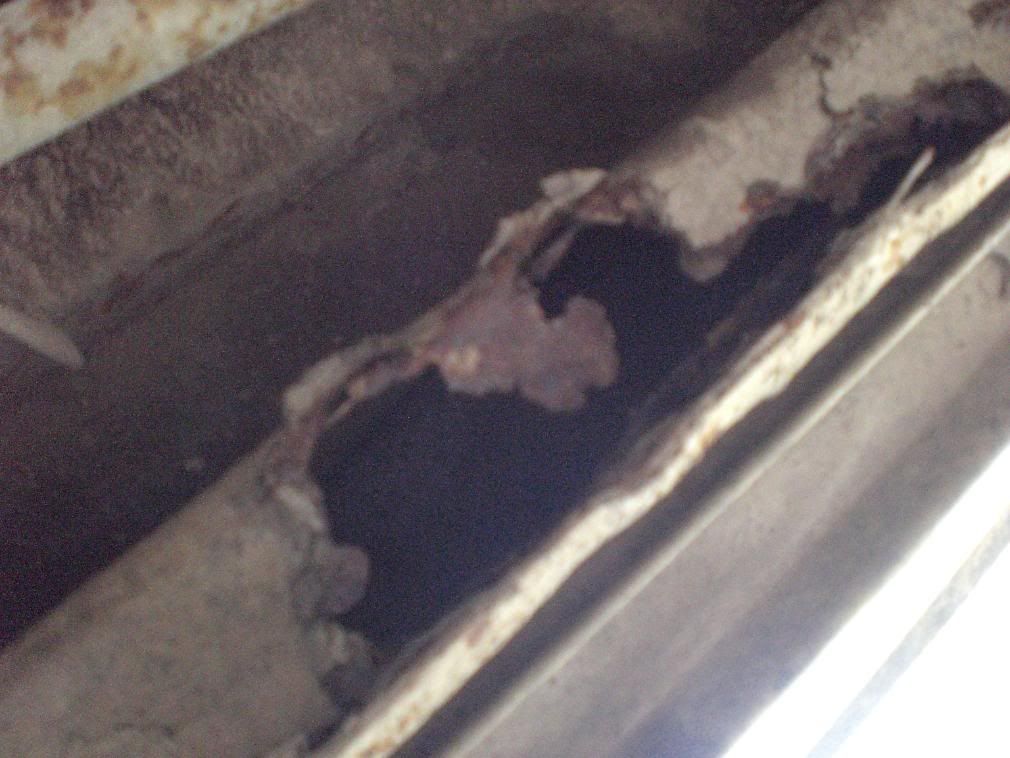
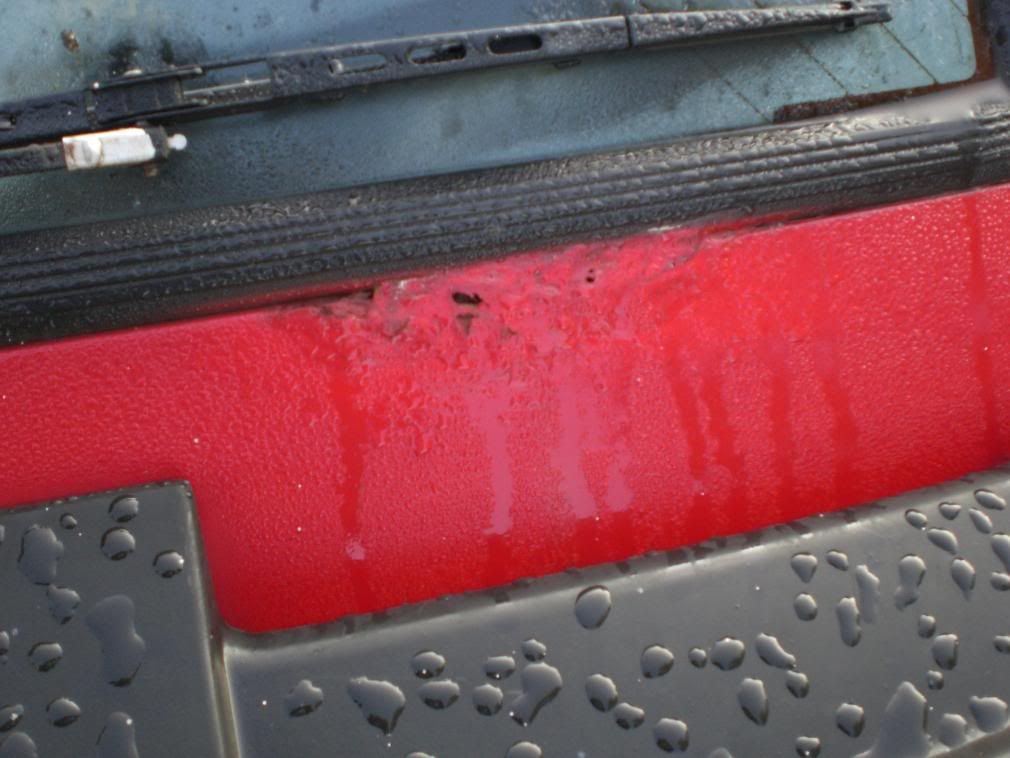
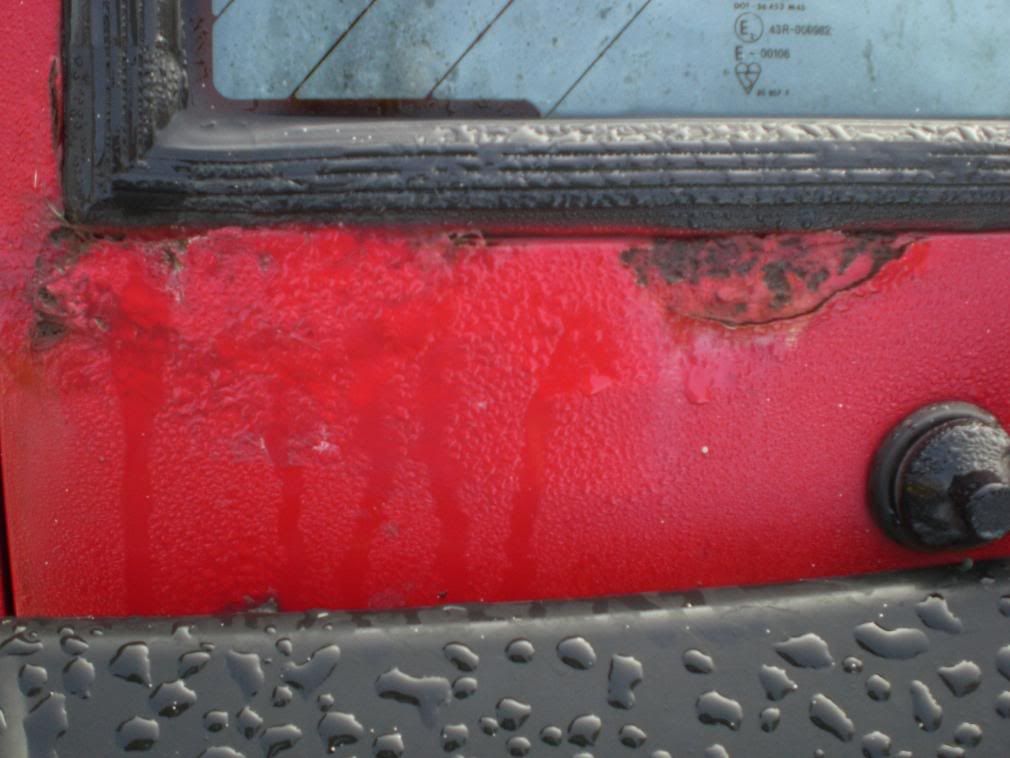
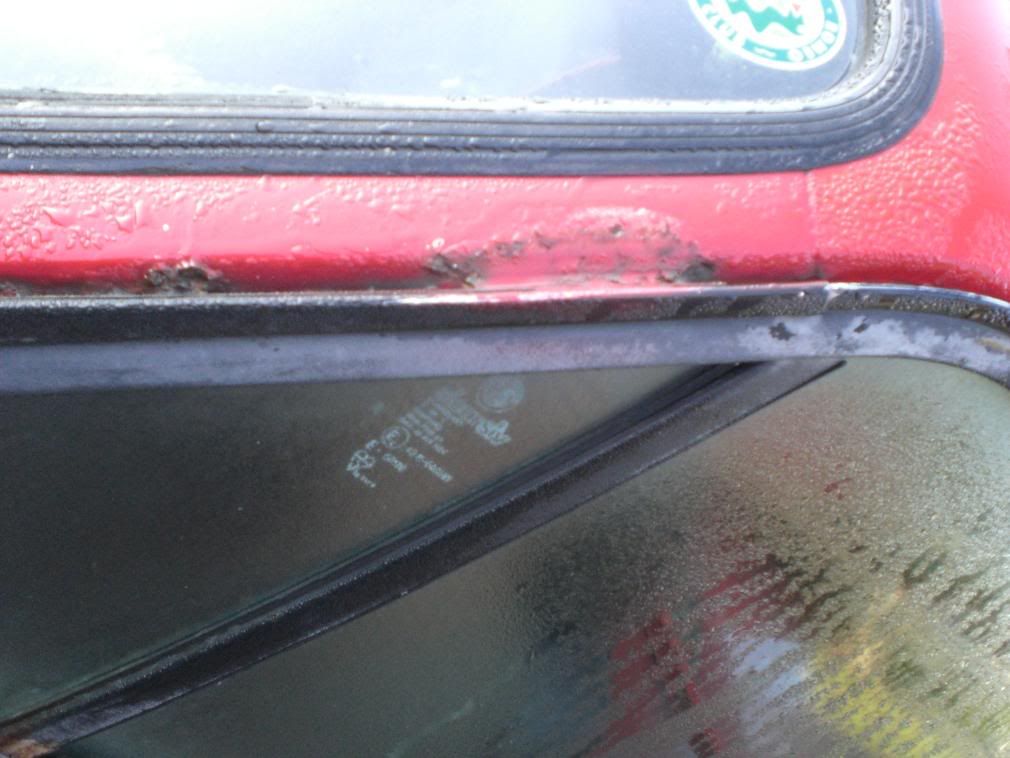
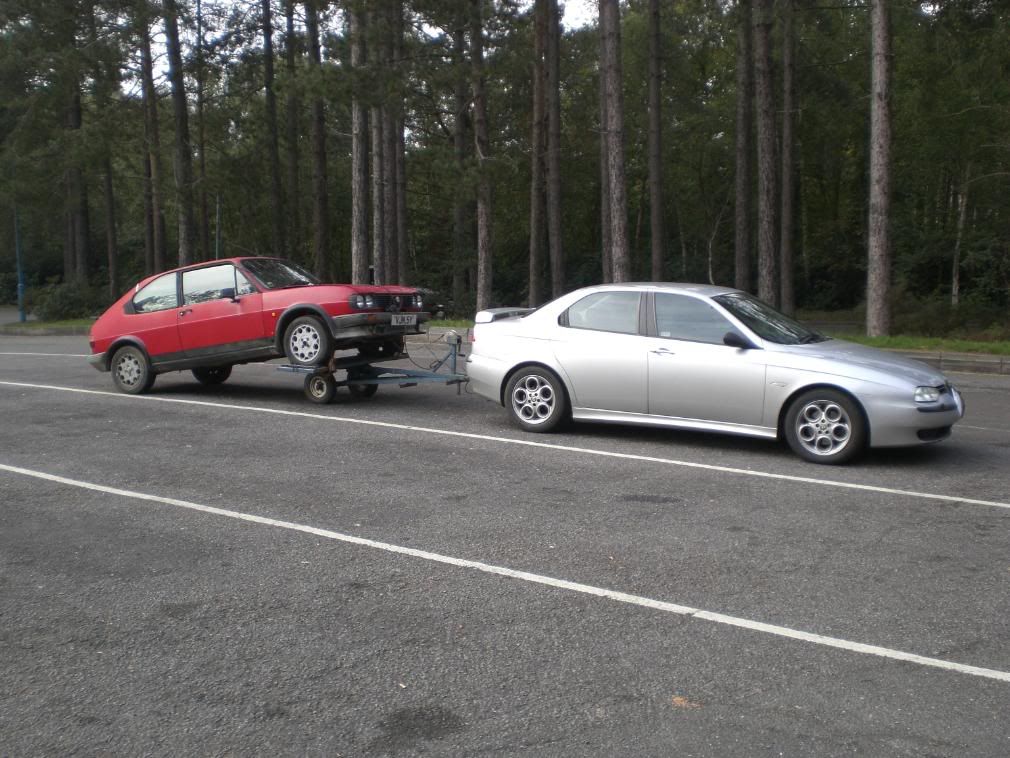
ok, i warned you all it would happen  most of you will already know but i have now got myself a sud ti at last . it needs a fair amount doing (more than my sprint did ) but i am very much looking forward to the jobs to come. haven't got anything done to it at all yet, just a few pics and a look over what is to come. besides the usual welding in most of the usual places (and more ) the engine will need a complete strip down and rebuild, it hasn't run for a fair few years, the last mot in 2001 shows it has done precisely 4miles since passing! he must have been frightened to drive it anymore needless to say i haven't attempted to start it, haven't even tried to turn it over by hand, just accepted a rebuild is needed a few pics to keep you all interested, some areas you may have seen before
![Image]()
![Image]()
![Image]()
![Image]()
![Image]()
![Image]()
![Image]()
![Image]()
![Image]()
![Image]()
![Image]()
![Image]()
![Image]()
![Image]()
![Image]()
i CAN see the potential in it, just will be a lot of work
most of you will already know but i have now got myself a sud ti at last . it needs a fair amount doing (more than my sprint did ) but i am very much looking forward to the jobs to come. haven't got anything done to it at all yet, just a few pics and a look over what is to come. besides the usual welding in most of the usual places (and more ) the engine will need a complete strip down and rebuild, it hasn't run for a fair few years, the last mot in 2001 shows it has done precisely 4miles since passing! he must have been frightened to drive it anymore needless to say i haven't attempted to start it, haven't even tried to turn it over by hand, just accepted a rebuild is needed a few pics to keep you all interested, some areas you may have seen before 
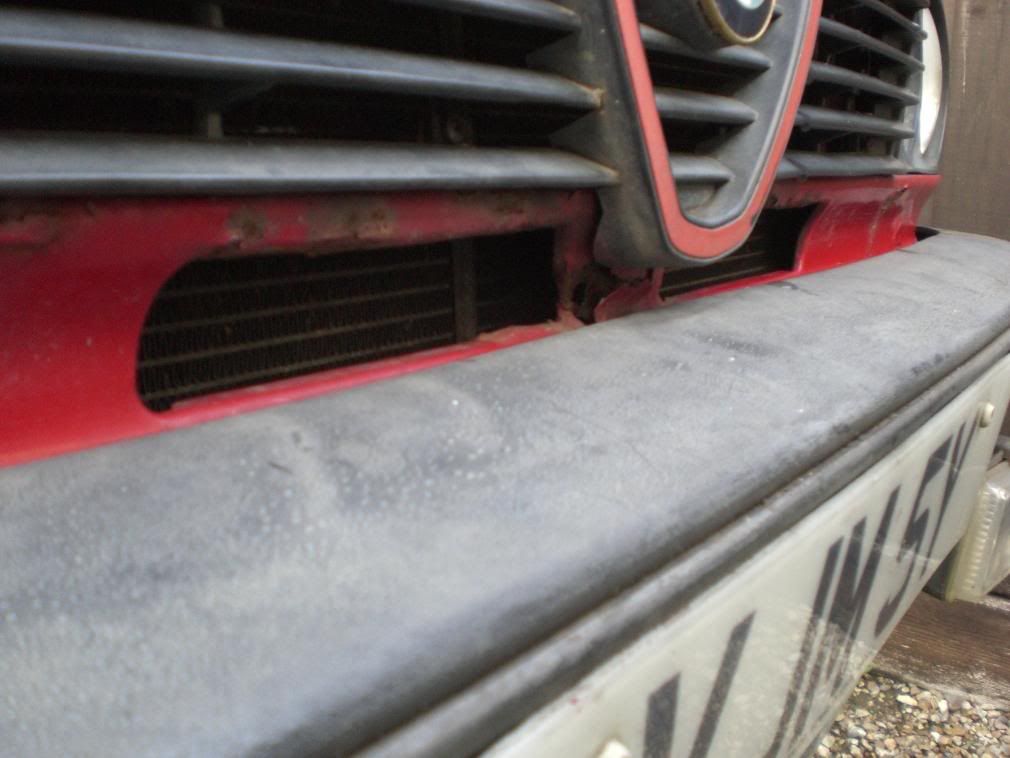


i CAN see the potential in it, just will be a lot of work